Beginner Woodshop Setup
We now have a Facebook and YouTube pages to help you on the journey to wood working. And it gives me something useful to do when the shop goes quiet. Here's a link to our YouTube video page. We'll keep adding videos as we get time. Remember always: the best way to get good at something is to do it.
Well we've finally gone and done it! Our beginner woodshop setup plan is more or less complete and we have a few images to show you for when you decide to take the big step.
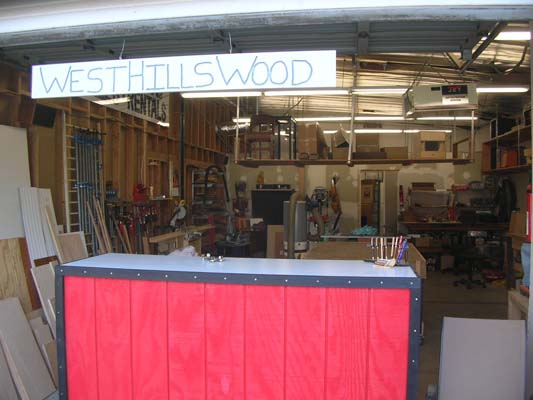
We have a roll-up door that opens to an alley. To keep wandering soles from wandering in unannounced, we built a plywood cabinet using the same techniques we used for the tire store cabinet. Of course ours is less elaborate to better fit our need. We can slide it out of the way when we have large projects or materials to move.
That West Hills Wood sign was made by my daughter a couple of years ago in her wood shop class at middle school. It was mounted over the door of our home shop and was an integral part of our beginner woodshop setup plan.
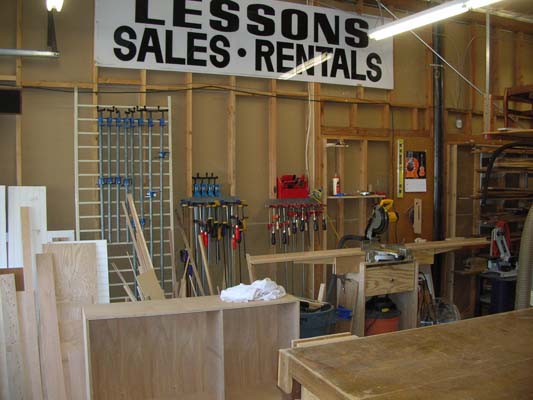
Looking left as we enter the main door, you can see we still have some sheet goods to deal with. But an old metal railing stood on end makes for a good bar clamp storage device. The rental sign was left over from the old piano store that used to be here. I like it—so it stays. Who knows? I may offer up some woodshop lessons at some point...
We built a station for the chop saw. This way we can cut long pieces with better accuracy. Off to the very right we have our wood storage shelves.
The exposed 2x4s frame out the musical performance area on the other side of the wall. We share this wall with
Guitar Merchant, an independent music store. They hold recitals and concerts in the room next door. Our schedules do not conflict and we're friendly, so it all works out pretty well.
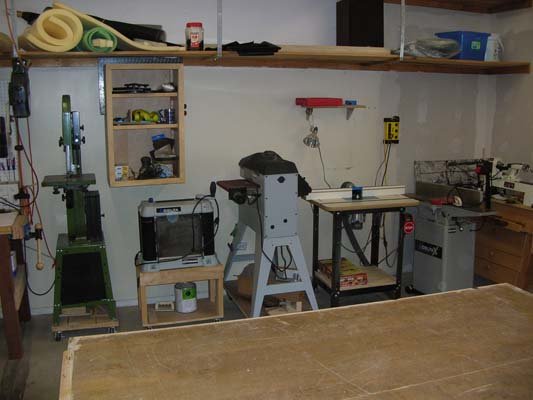
On the opposite side, we have an existing shelf up high and a finished wall. This is where we put our machine tools. As beginning woodworkers, our machines tend to be the kind you get at the local home center or over at the Rockler/Woodcraft outlet. This is as opposed to the more industrial variety found in pro shops.
Left to right, 14-inch band saw, 13-inch Delta planer, 18-inch Delta drum sander, router table, 6-inch Delta joiner, Jet mini lathe.
One key consideration for power tool location is the amount of amperage they can draw. Check the ID/Serial Number plate for the current rating. Most home-based tools like ours won't need more than 15 amps. But if you have 15-amp service and are running your saw and a dust collector on the same circuit, you'll be forever resetting the breaker. You can plug them into different feed lines or have an electrician rewire the box for you. This is not something to mess with. Our shop space has three feeds and multiple outlets.
It took us several years to build up our machine collection. All our pieces are on wheels. At the house, we needed them to move around. At the new shop, we still need them to move around. Our beginner woodshop setup strategy allowed for this. The space is about 800 square feet. Comfortable, but not big enough to give every machine a dedicated space.
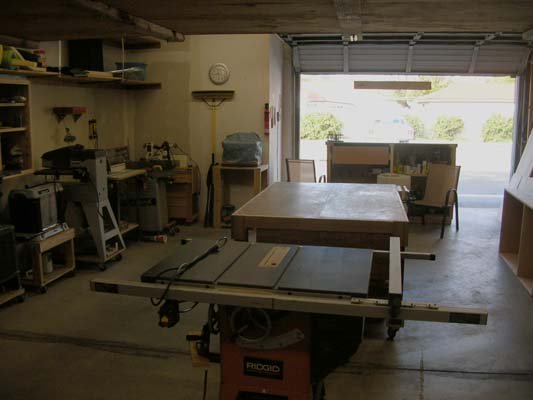
From the far end of the new woodshop, you can see out the big door. Machines to left, clamps and chop saw to the right. We have a lumber rack on the wall as well as a floor standing drill press. We use fans to keep dust moving out the big door and are very conscious of using our big vacuum when running the machines.
Our table saw sees a lot of use. It came with a wheel setup and dust collection port. A good dado set makes this an indispensable tool. Our big workbench is also on wheels. The top is made of two old front doors from my neighbor's house. It boasts three large drawers and a rolling hideaway box underneath for scrap wood.
Another carry over from the home shop is tool covers. Though not shown here, my wife and daughters have made cloth tool covers for each of the big machines. As the tools would sit in the garage with spiders, dust, and who-knows-what-all, they made me a cover for big tool as they appeared. I use the covers in the new shop all the time. They help remind me at day's end which tools I've used and are in need of cleaning before locking up.
It's hard to believe all this stuff used to be in my small backyard shed and garage. Now I am much more efficient with my time.
Contact me if you have questions about my beginner woodshop setup plan or even if you're curious about what it takes to slip into one of your own.
