|
Wood Mailbox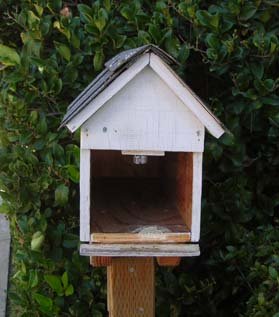
The first project we made for our house was this wood mailbox. Over the past 15 years, it has held up remarkably well. Alas, the door finally refused to be rescrewed, the top was getting gross from bird and tree debris, and it just got to looking tired. Upon critical investigation, we decided that the old opening wasn't large enough, there was inadequate interior space, and the old paint job was getting moldy. Our pressure treated post is still in good shape so we were able to maintain the existing location and mounting surface. Armed with a new
wood shop,
we set about making a new mailbox.
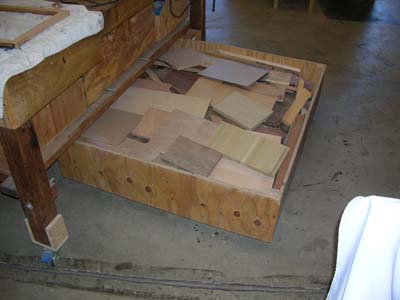
This is a great beginner wood project for a number or reasons. First, it doesn't call for a lot of tools. Next, you are not constrained by too many design requirements. Finally, you can use whatever materials you already have at hand. We went to our scrapbox, which is on wheels and stored under the work bench, and dug out some suitable pieces of 3/4-inch plywood. We knew we'd be painting the box, so having different types didn't matter. So long as the thickness was the same, we'd be OK.
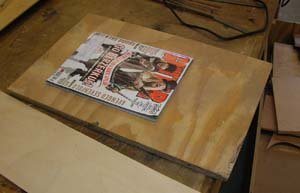
One problem we had with the old box was that magazines had to be folded in order to fit inside the box. Don't you just hate that? So we found a magazine and laid it onto the biggest piece of plywood we found in the box. That's how we decided what size to make our new wood mailbox. No, we didn't make the box as big as shown here. But we did use the magazine as our guide.
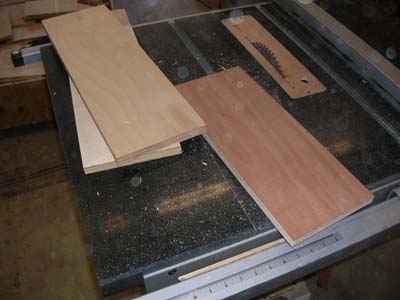
Our design calls for the sides and back to be solid, with the front being completely free and hinged. Cut the back and sides to size with the same setup to keep things equal. A table saw is very helpful, but a handsaw or circular saw could do this job. The sides and back will be attached to the outside edge of the bottom piece. Be sure to allow for material thickness.
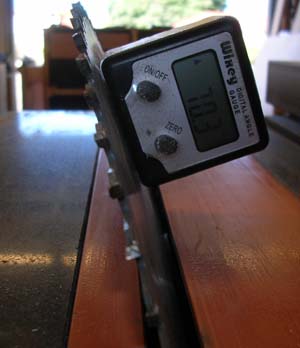
If you are using a table saw, get one of these things. This device allows you angle your blade with precision. To use, you set it on the table top and press ZERO. Then attach it magnetically to the blade and crank away until you reach your desired angle. When done, use it again to reset back to 90 degrees. This thing has greatly improved our table saw operations.
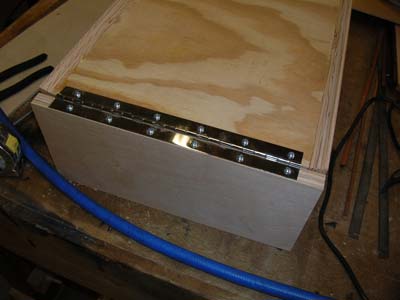
We used a lot of wood glue and nails to hold our sides and back to the bottom piece. Here you can see the door attchment via a small piece of piano hinge. We've found over time that piano hinges work best is high movement areas like the mailbox door where twisting, pulling, and kids are involved. There are small screws attaching the hinge, but don't let that scare you. Screws work by way of surface friction. A lot of little screws get a lot of surface friction. Just be careful not to strip them.
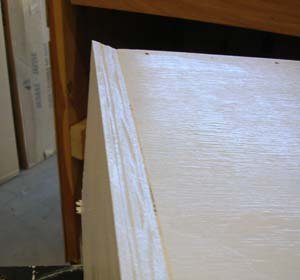
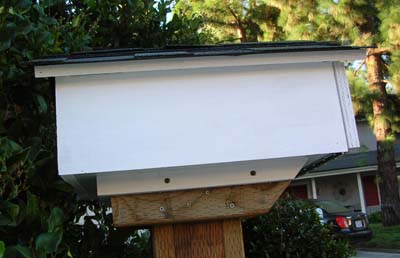
Here's where we used that angle device on the table saw. The above image shows a bottom view, looking to the back of the wood mailbox. That angle is cut along both sides to help rainwater drip off. We don't know that it's critical to put that edge on, but we had that nifty new angle tool for the saw and wanted to try it out.
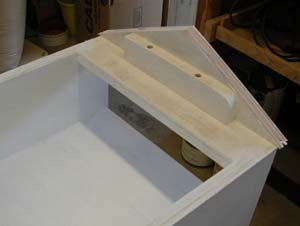
The back and sides are easy enough to figure out and align. For the front door, we wanted the top of the door to be covered. So we extended the front to overhang by using another piece of scrap to hold our roof support in place. The door itself is a simple rectangle.
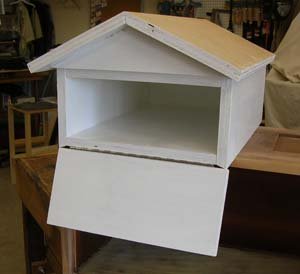
Our wood mailbox features a wide open door design. Our mailman really likes having enough space for his hand to go in and out. We appreciate receiving our magazines in unmutilated form. The inside floor dimension is 11 x 14 with side walls at 5 inches.
To attach our new wood mailbox to the 4x4 post, we screwed 1x2 runners to the bottom of the box at the appropriate width to align with the post board. Then we sat the entire box over the post and screwed it on with four 2-inch screws (2 to a side). If we were smart enough, we would have thought to attach the post mounting runners before attaching the roof, screwing through the box floor. But that would imply a degree of forethought. Of course now you can look like a genius when building yours.
The completed wood mailbox looks great, functions as advertised, and will serve us well for many years. For the roof, we used some asphalt shingles found in the garage and some roofing adhesive (no nails!). A heat gun helped mold the shingles when shaping the top seam and a few hours of sun time finished it off. We painted the entire box inside and out with white enamel. We did not paint the top before attaching the shingles because we needed a clean wood surface for the adhesive. All in all, this is a simple, useful project. There are a lot of tired homemade mailboxes in my neighborhood. Maybe we should make a few of these and go door to door... |