|
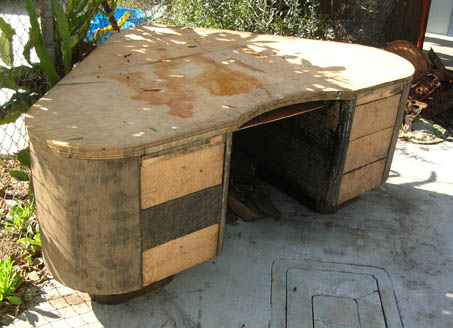
Desk RestorationThis desk restoration project came our way via a friend who had retired from Fletcher Aviation Company some years ago. It seems Fletcher came up with the triangular corner design to accommodate workers returning from WWII. Art deco styling reflects their late 1940s heritage. More of the story behind these desks can be found here. We wound up with two restored desks and one built up from scratch. The images on this page are a mixture of all three desk restoration efforts.
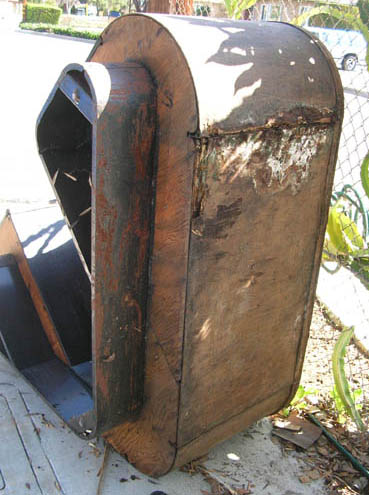
Oh, what brave souls we are! Our friend had the desks stored on his driveway under a tarp for a couple of months before calling us in. They had already been damaged by water from a leaking roof at El Monte airport some months earlier. Our first real thought was that we'd take them home, cut them up, and throw them away. But hey, they had the original glass tops and hardware. Maybe some good would come of the effort.
Clearly desk #3 had seen too much water to be saved. We harvested the metal and glass for a scratch build.
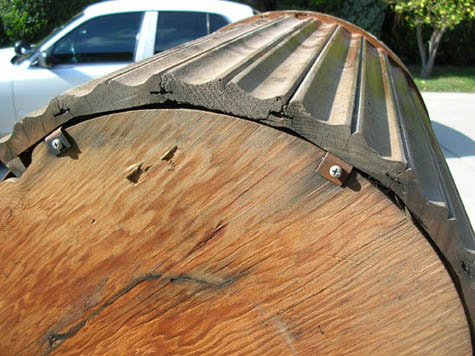
It turns out that Fletcher made a lot of items for the military out of plywood. The desks had 3/4-inch plywood bottoms and tops with 1/4-inch side panels. Decorative corner pieces were made of walnut and coved twice per piece with beveled ends to make the corner. Age and water had taken their toll.
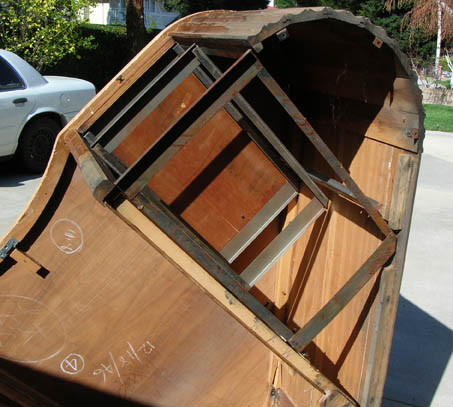
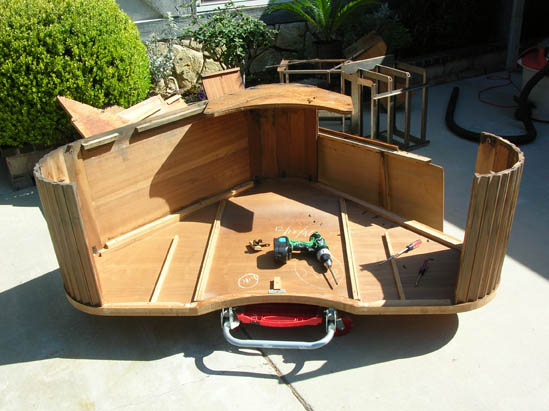
Disassembly was our first task. While large at 6 ft by 4 ft by 30 inches, the desks are fairly light, making them easy to manipulate. We found an inconsistency in the types of screws used. Some were Phillips head, others slotted. Most were rusty. The three desks did not agree with one another insofar as detailed woodwork goes. We found chalk marks under the tops and did all we could to preserve them. They mark the date of original assembly. One says 12/18/46, the other says 1/31/47. Yes, we added our re-finish date in chalk as well.
There was no way to know what we would find when we started this desk restoration project. We also didn't know if we should restore one at a time or come up with another plan. Taking a lot of pictures helped when confronting reassembly adventures. Actually, the process was not overly difficult. It just took a bit space to spread things out and a fair amount of time to figure out what to replace, what to keep, and how to keep it all straight.
Plywood can delaminate over time. Especially when subjected to wet conditions. This was a common problem for all three desks. The solid brass drawer hardware was in rough but serviceable condition. We were fortunate to have three complete sets. For our desk restoration, we had them polished then powder coated clear.
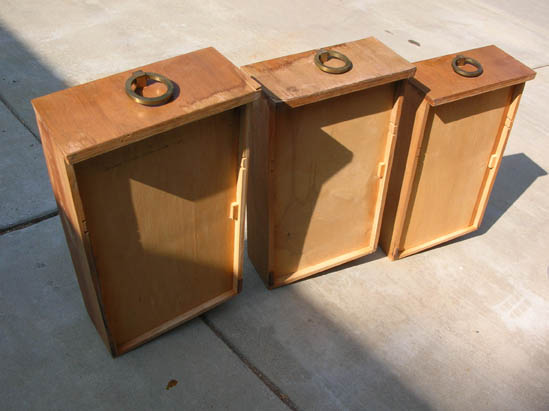
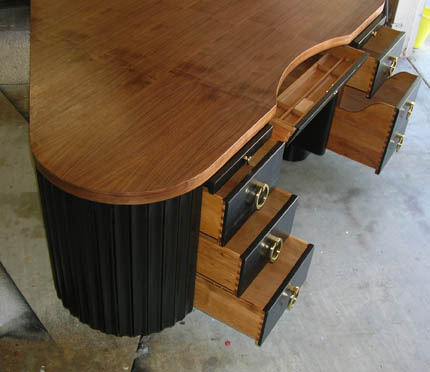
Here's an example of inconsistency on a single desk. The guys at Fletcher apparently used whatever wood they had on hand. There's no other reason for three drawers to be of different depths. We encountered a similar problem on the interior panels, causing us to second-guess ourselves several times before finally realizing the error was not of our doing.
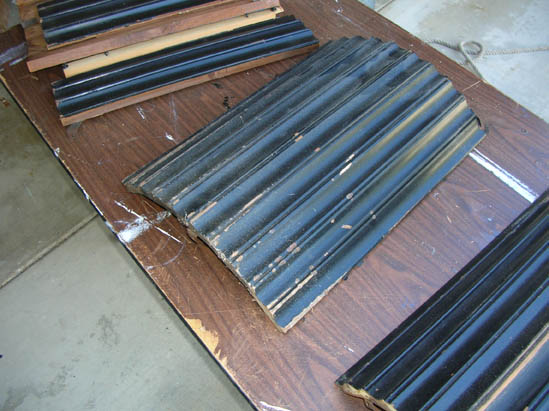
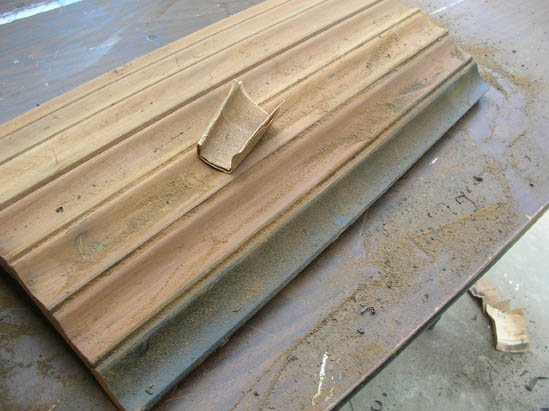
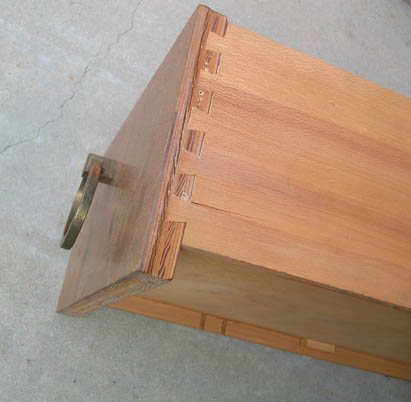
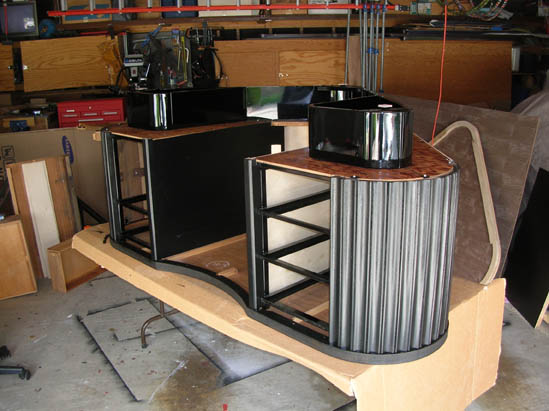
Some Fletcher designs called for bent plywood corners. Ours had solid walnut. Each panel is roughly five inches wide with two carved coves to create the art deco look.
Remaking the coved pieces wasn't something we could do when we started the project (we can now!). Getting a machine into the small spaces was out of the question so we sanded everything by hand. The best approach is to go in knowing it's a dirty job and be prepared with a dust mask, plenty of sandpaper, and a few hours uninterrupted time. It turns out that the water had stained through on most of the boards, making them unsuitable for finish staining. We elected to go with black enamel paint for the desk restorations and an oil-based finish on the scratch desk.
Nice bit of dovetail work on the drawers! We only had to replace a couple of interior drawer panels.
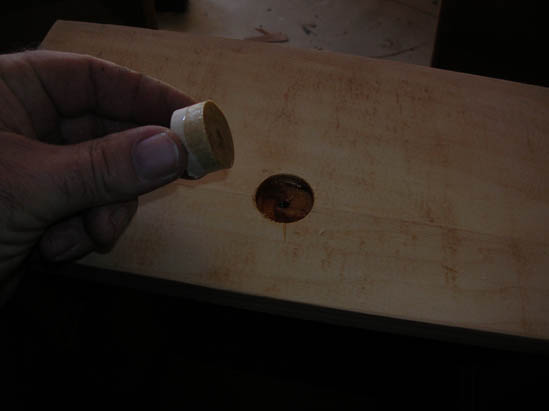
Our original circular drawer pulls have a small tab on the back side to keep them from spinning around. But after years of use, they dug 1/16-inch deep grooves in the drawer fronts.
We solved the problem by drilling a shallow hole with a Forstner bit and filling it with a dowel plug. Since we covered our fronts with fresh laminate, there are no traces of the damage or repair.
There are three drawers on one side, two on the other. On the two drawer side, one occupies the same space as two. In so many words, we have one deep drawer. We obliged the Fletcher design by using two separate pieces of laminate on the large drawer, granting the appearance of it being two drawers. After thoroughly sanding the sides and relaminating the fronts, our drawers came out pretty good.
Reusing the original top had the added advantage of providing us with alignment holes for the screws. We replaced all screws with newer, one size larger screws. Andrews Powder Coating sandblasted and coated our drawer slides, base, and hardware. All assembly was done upside down and was fairly straightforward. A couple of side panels had to be remade, but our black-bodied desk restorations are roughly 80% original.
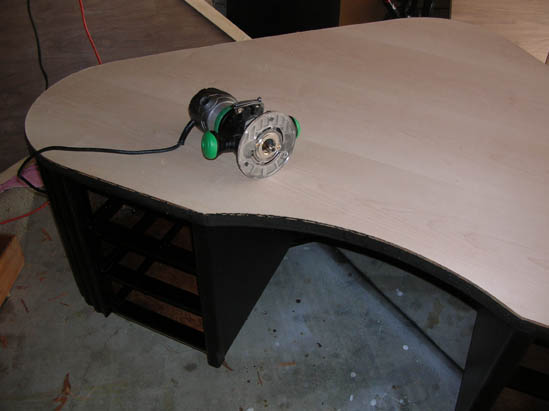
Relaminating the tops was an adventure since we had never done it before. We eventually figured it out and came away with terrific results. Once we learned that we needn't be overly exact when placing the lamination, we were fine. Oh, and contact cement works REAL good. Placing a large piece is a job for at least four hands (we learned that the hard way). Once in place, the top can be finish trimmed with a router and flush-trim bit. Too cool. One of our desks had a painted top, the other was laminated with a walnut veneer and finished with oil. The trimming process was the same on both. Our scratch desk has a walnut plywood top. We used a flush trim bit with its glass top as a guide on that one.
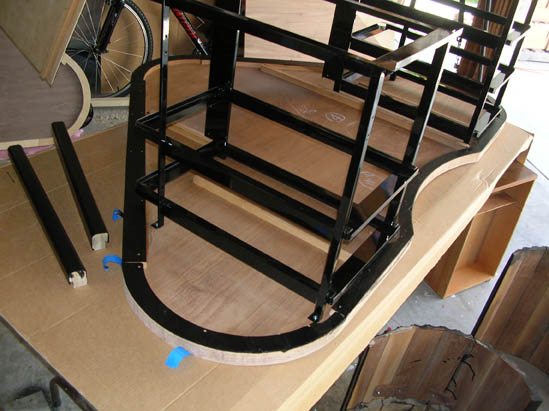
Once the drawers slides, side panels, and corners are in place, it's time to screw in the bottom pieces and refinished base.
The finished desk restoration project looks like this. Well, one does anyway. We have two others for you to see. We have two restored, one built from scratch. One has a black painted top, one has walnut veneer, and the other is all walnut. Indecision on our part? No. We used what we had access to and adapted accordingly. While technically beyond what we were capable of at the time, we managed to complete this Fletcher Aviation desk restoration project in a reasonable amount of time, learned a few lessons along the way, and came away with three interesting pieces of history. The originals were donated to our cause. One has sold, the other two are on local display in search of permanent homes. Contact us for the viewing sites, sale availability, and pricing. |